Convert audio to keyframes in After Effects: one layer, one band
What Convert Audio To Keyframes gives you, its three limits (the whole comp mix, amplitude only, the work area), the usual workarounds, and keyframes per layer and per frequency band.
By Filip Miernik
Tutorial
7 min read
To convert audio to keyframes in After Effects, make the comp active and choose Animation > Keyframe Assistant > Convert Audio To Keyframes. After Effects adds a layer named Audio Amplitude with three sliders, Left Channel, Right Channel and Both Channels, keyed to the amplitude of the comp’s audio inside the work area. You then link a property such as Scale to one of those sliders with an expression.
That covers simple cases. It falls short when you want keyframes from one layer instead of the whole mix, or from one part of the sound, like the kick drum. This guide shows the native steps, their limits, the usual workarounds and a per-layer, per-band option.
In this guide
- How do you convert audio to keyframes in After Effects?
- What are the limits of Convert Audio To Keyframes?
- How do you get keyframes from one audio layer?
- Can you get keyframes for one frequency band?
- Per-layer, per-band keyframes with Flexile
- What you need
How do you convert audio to keyframes in After Effects?
- Set the work area to the part of the comp you need. The command analyses only the work area.
- With the comp active in the Composition or Timeline panel, choose Animation > Keyframe Assistant > Convert Audio To Keyframes.
- After Effects creates an Audio Amplitude layer. It holds three Expression Controls effects, Left Channel, Right Channel and Both Channels, each with a Slider that carries the keyframes.
- Link a property to one of the sliders with an expression. Adobe’s own example is Scale, so the layer grows and shrinks as the amplitude rises and falls.
Adobe documents the command on its Assorted animation tools help page.
Link the keyframes to Scale
Add an expression to the Scale property of the layer that should react, and paste this:
// Scale of the layer that should pulse
amp = thisComp.layer("Audio Amplitude").effect("Both Channels")("Slider");
s = linear(amp, 0, 20, 100, 130);
[s, s]
linear(t, tMin, tMax, value1, value2) returns value1 when t is at or below tMin, value2 when t is at or above tMax, and a straight blend in between (Adobe’s expression language reference). Here a slider value of 0 keeps the layer at 100 % and 20 or more takes it to 130 %. The slider values depend on your track, so look at the Both Channels keyframes first and replace 0 and 20 with the quiet and loud values you see there.
What are the limits of Convert Audio To Keyframes?
Adobe’s description of the command points to three limits:
- The whole comp mix. The Audio Amplitude layer represents all audio sources in the composition. Music, voice-over and sound effects all land in the same curve.
- Amplitude only. You get the amplitude of each channel and nothing else. Adobe describes no frequency bands and no beat detection, so a kick drum, a loud vocal line and a cymbal crash all push the same slider.
- The work area only. Audio outside the work area gets no keyframes, so set the work area before you run the command, and run it again if the edit changes.
How do you get keyframes from one audio layer?
Give that sound its own comp. The command reads every audio source in the active comp, so a comp that holds only your music gives you keyframes for the music alone.
- Put the audio layer in a comp of its own, for example by precomposing it.
- Open that comp and run Convert Audio To Keyframes there.
- In your main comp, point the expression at the Audio Amplitude layer inside that comp with
comp("<name>").
// Scale, in the main comp. "Music only" is the comp that holds just the music.
amp = comp("Music only").layer("Audio Amplitude").effect("Both Channels")("Slider");
s = linear(amp, 0, 20, 100, 130);
[s, s]
The expression reads the slider at the main comp’s current time. Keep the precomp layer starting at 0 in the main comp, or the pulse no longer lines up with the sound.
This fixes the source, not the measurement. You still get the amplitude of everything in that layer, bass and vocals together.
Can you get keyframes for one frequency band?
Not with the native command. Adobe describes it as an amplitude analysis, with no frequency ranges. To drive a layer with only the kick or only the hi-hat, you need a tool that splits the spectrum or detects beats:
- Trapcode Sound Keys (Maxon) turns parts of an audio track that you select in a visual spectrum into keyframes, using amplitude or frequency ranges. It is sold within the Red Giant and Maxon One subscriptions, with a 14-day free trial (as of September 2026).
- BeatEdit (mamoworld) works on beats, not frequency bands: it detects the beats in a music track and can create beat markers and animate sliders from them. It costs $149.99 one-time for a single-user licence (as of September 2026). Our BeatEdit comparison goes through it in detail.
- Flexile, our own extension, writes keyframes per layer and per band. The next section shows how.
Per-layer, per-band keyframes with Flexile
Flexile is the After Effects extension we make. Its Audio page reads one selected layer with sound (a song, a voice-over or a video layer) or the whole comp mix, and writes keyframes for the frequency band you pick. Like every Flexile feature, it is free during the beta. The beat sync in After Effects page covers the feature in full.
How it differs from the native command
- Source: one selected layer or the whole mix, instead of every audio source in the comp.
- Measurement: the level inside a frequency band, plus hits and tempo, instead of amplitude per channel.
- Output: a null with one 0–100 % slider per band, instead of an Audio Amplitude layer with three sliders.
Bands you can pick
- Presets: Kick 40–120 Hz, Bass 60–250 Hz, Snare 1,500–4,000 Hz, Hi-hat 6,000–12,000 Hz, Vocals 300–3,000 Hz and Full 30–16,000 Hz.
- Auto: picks the most rhythmic low band in the track from seven candidate ranges between 30 and 200 Hz.
- Your own range: drag the band’s edges on the spectrum anywhere from 30 Hz to 16 kHz, at least 1/6 octave wide.
What Flexile writes
- One 0–100 % keyframe per comp frame on a Slider Control, on a null named
Audio · <layer name>above the audio layer, orAudio · <comp name>for the whole comp mix. Each band gets its own slider, named after the band (Beat for Auto). - With Mark each hit on (the default), a marker on each hit, a
<band> hitslider that jumps to 100 on each hit and falls back, and a BPM slider when the tempo is steady. Detection covers 30–300 BPM. Above about 170 BPM it reports half tempo, so a 174 BPM loop reads 87.
In our demo, a 46.12-second song at 30 fps gave 1,384 keyframes, 116 kick hits and a tempo of 113.3 BPM.
Create the keyframes
- Select the layer with sound, or use the whole comp mix.
- Open Audio → Beat in the Flexile panel and pick a band.
- Check the preview. It shows the exact values Flexile will write, the approximate BPM and the hit count. If you need to, tune Release, Floor and Hit sensitivity before you write anything.
- Read the line that states what Flexile will add (the slider, the number of keyframes and markers, and the null), then click Create keyframes.
- Pick-whip a property to the slider, or paste the expression Flexile gives you.
One undo step removes it all. Running it again on the same band replaces that slider’s keyframes instead of adding a second set.
Link a property to a band
Every band slider and hit slider runs from 0 to 100, so you know the input range of linear() in advance and don’t have to read your track’s peak values first. Replace song.wav with the name of your audio layer, or with the comp name if you used the whole comp mix.
// Scale: follow the kick level, up to 25 % bigger at full level
s = thisComp.layer("Audio · song.wav").effect("Kick")("Slider");
value * (1 + s / 400)
// Opacity: full on each kick hit, 40 % between hits
h = thisComp.layer("Audio · song.wav").effect("Kick hit")("Slider");
linear(h, 0, 100, value * 0.4, value)For more recipes, including a shake on Position, see how to make layers react to the music. If you would rather describe the result in words, your AI app can analyse the song, write the keyframes and link them over MCP: ask your AI to link the beat.
Good to know
- Clips can be up to 20 minutes long.
- The panel reads mp3, wav, flac, ogg, aac, m4a, mov and AIFF audio itself, and mixes precomps and whole-comp mixes from their files.
- Time-remapped layers and formats the panel can’t read need an After Effects render first. Flexile asks before it renders, because a render clears the After Effects undo history.
- Beat keyframes run wherever Flexile runs, also on computers that can’t run Flexile’s subtitles.
What you need
Flexile supports After Effects 2025 or newer on macOS and Windows. It is free during the beta, with every feature unlocked and no card. With a Flexile account and the extension installed, open Audio → Beat in the panel.
Related posts
Audio reactive animation in After Effects: pump, shake and flash
Three expressions that make any layer pump, shake or flash to the music, driven by beat keyframes, plus a no-plugin version built on linear().
BeatEdit alternatives for After Effects: Flexile, Sound Keys and free tools
BeatEdit compared with Flexile, Trapcode Sound Keys, BeatMarker AE and After Effects’ own Convert Audio to Keyframes: what each one writes, what it costs and when BeatEdit is still the right pick.
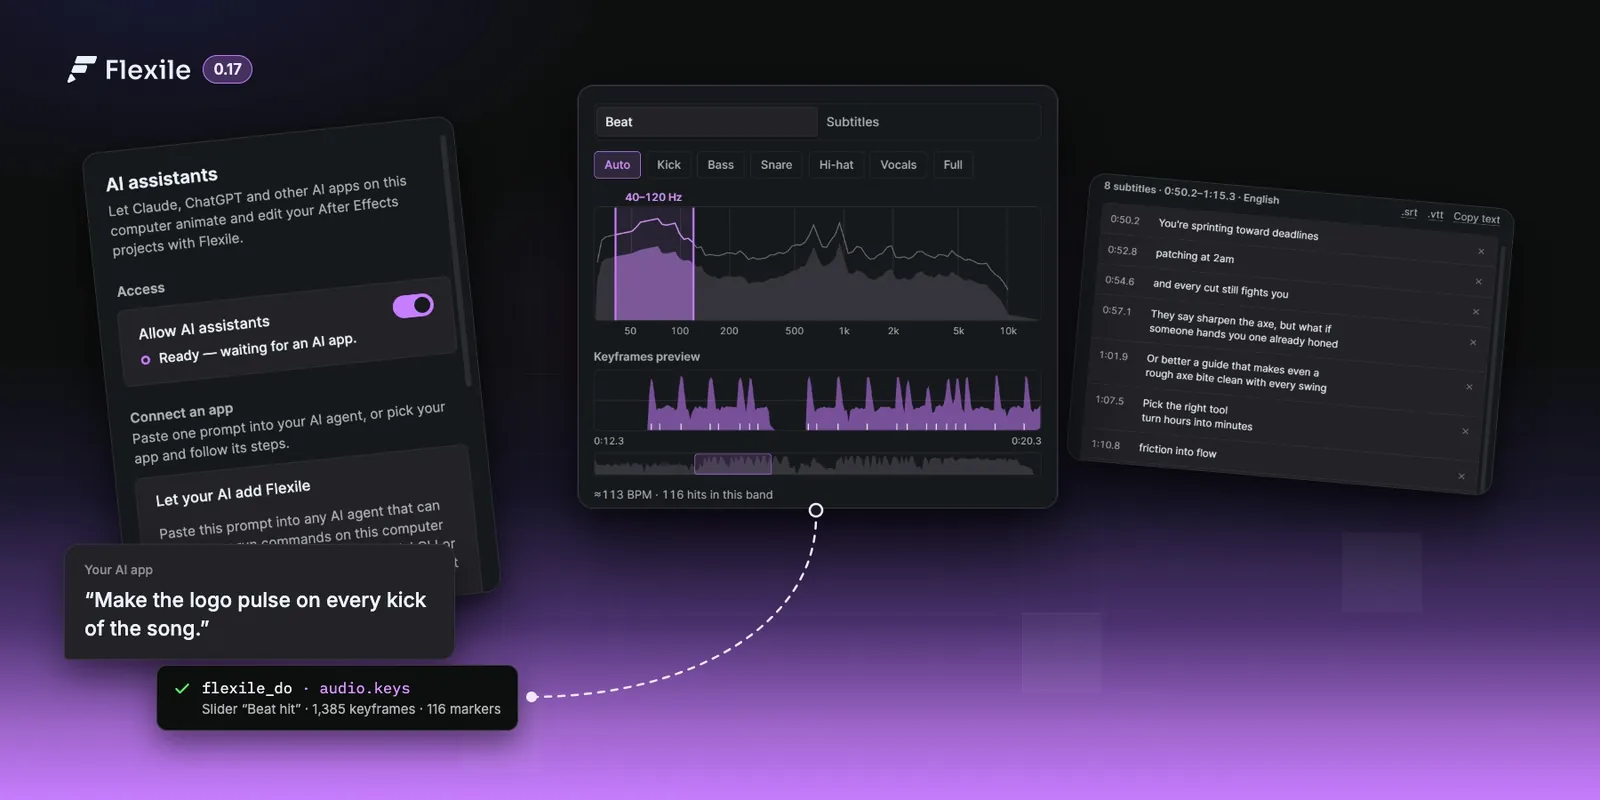
AI assistants, AI-made tools and the new Audio page
Your AI app can now drive After Effects through Flexile’s MCP server and write your custom tools. The new Audio page turns a song into beat keyframes and speech or lyrics into subtitles and karaoke.